At the summer Olympics of 2004 in Athens, Greece, Hossein Rezazadeh raised 263.5 kilograms (nearly 581 pounds) over his head and broke the world record. Olympic power lifters are able to accomplish these incredible feats because they stick to a well practiced technique. In product design, a well executed technique or process can help us accomplish incredible things as well. So what are you using to do the heavy lifting?
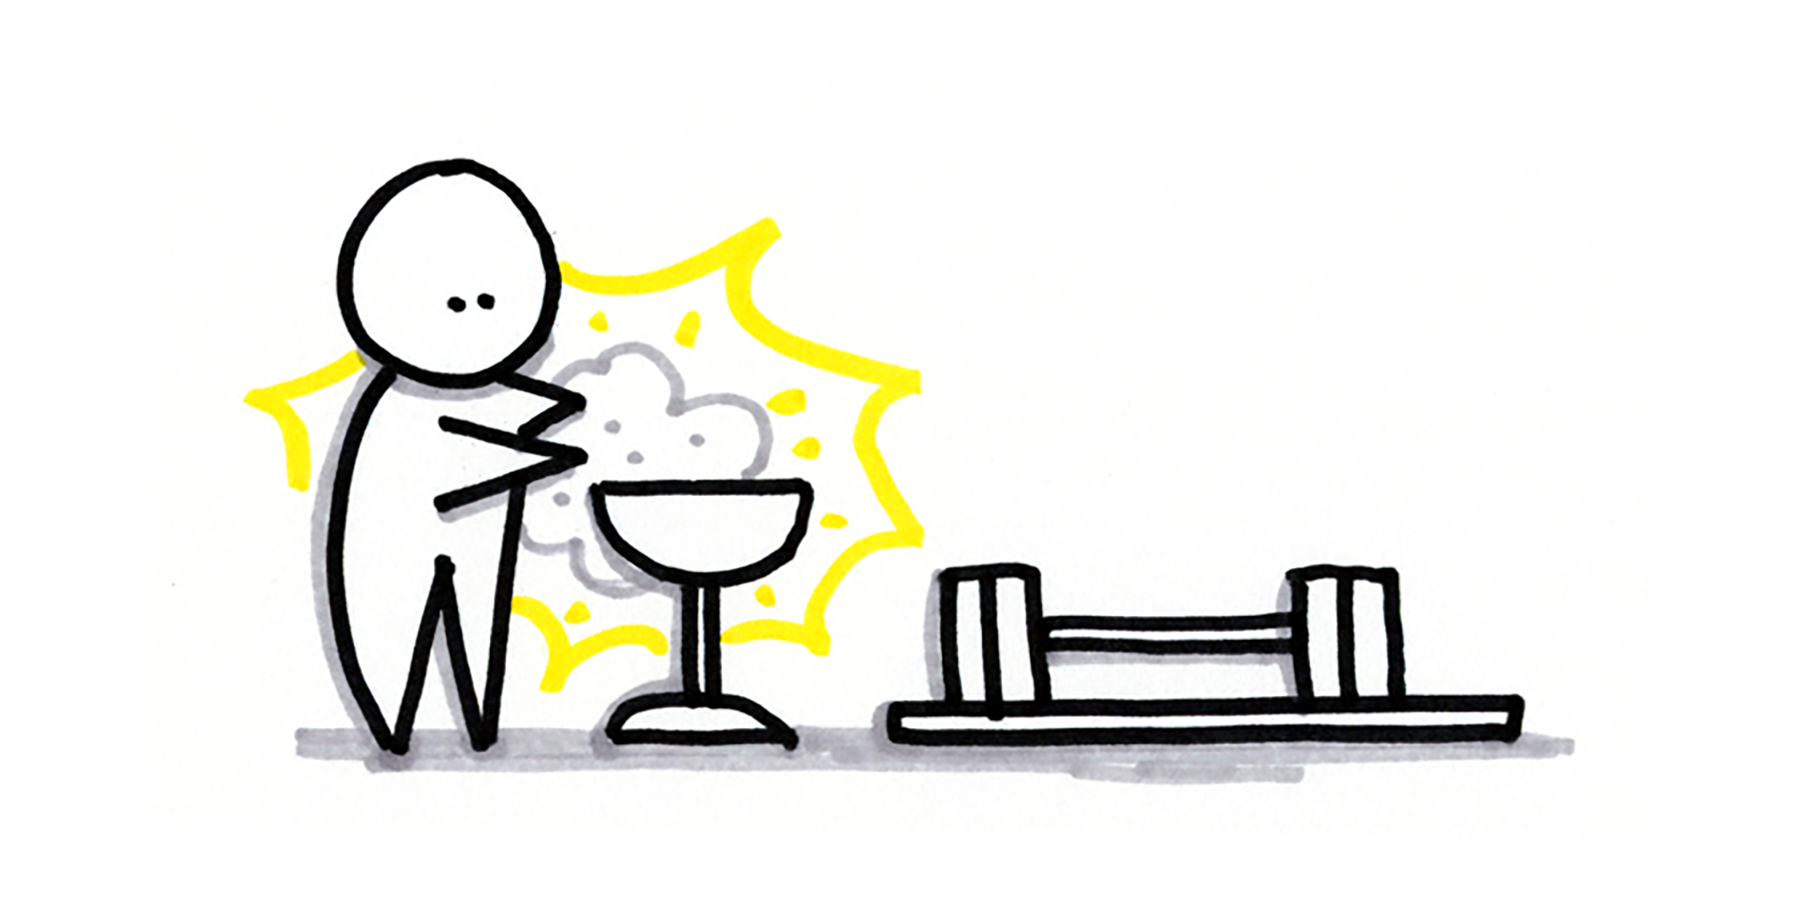
Think of it like powerlifting. When you step up to that big project, where does sketching come into play for you? When we've run Interface Design Sketching classes in the past, many have told us that they actually don't use sketching to do much heavy lifting. Many people use sketching to do some quick "hand chalking". They do all the heavy lifting with more time intensive brute force. This usually involves a cycle of presenting to stakeholders, going back to Photoshop to refine, presenting again, and so forth.

- Good = Use Sketching as hand chalk.
- Better = Use Sketching to get the bar off the ground.
- Best = Use a Sketching System to clean the bar halfway to the finish.
What we've done at ZURB is develop a sketching system that we use in all of our projects. The system is a series of sketch types that thrust projects from early ideas through to lo-fi wireframes. Sketches are a fast and low-cost means of making ideas tangible, adding fidelity to them, and putting them together into layouts and clickable prototypes'the key points being fast and low-cost. Why are 'fast and low-cost' important to being able to lift the immense weight of a project? Have you ever seen Olympic powerlifters clean the bar slowly and deliberately? No, for powerlifters, speed and technique are more important than brute strength. It's all about speed and economy of movement in building inertia to thrust the bar up. It's the same idea with product design projects.
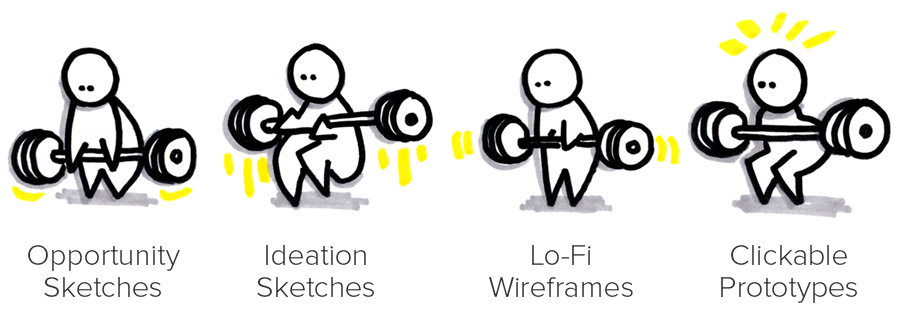
The fast and low-cost nature of sketching is the economy of movement and speed in how we powerlift projects. Our system consists of Opportunity Sketches, Ideation Sketches, Lo-Fi Wireframes, and sketch-based Clickable Prototypes.

We start with Opportunity Sketches to quickly make ideas tangible enough to move forward. Then we translate Opportunity Sketches into multiple possibilities through Ideation Sketches. We then work with stakeholders to move the right Ideation Sketches forward together into Lo-Fi Wireframes that show how those ideas work together in layouts. Next we put those Lo-Fi Wireframe Sketches into Clickable Prototypes in Notable. In the video excerpt from our Interface Design Sketching Class below, we discuss how the sketches fit together.
After getting through to sketch-based clickable prototypes there's still a lot more work involved, but with our sketching system we build a whole lot of inertia to get the project poised in a good place for a successful finish. Analyzing the process, we use sketching to do almost 1 / 2 of the heavy lifting needed to bring the product to life!

Do you sometimes struggle getting projects those first few inches off the ground; find it hard to keep a solid grip; or have difficulty building inertia up to the place where you can move toward the finish? If so, take a closer look at your speed and economy of movement, and consider instituting a sketching system to do the heavy lifting.